This is Dante, he is the new addition to our family. And boy does he fit right in. He is a red nose pure breed pitlbull. He likes long walks and only doggy sandwich cookies for treats (picky).
He is super sweet, hardly barks and loves everyone. He has taken over the house, except the couch and chairs, those are still Piper's (our little lhasa), and she tells him what's up. Dante is slightly scared of her, but he keeps picking on her, cause he is thick headed. :)
We are completely in love with him and he is giving me good exercise! Welcome buddy!
Thursday, April 14, 2011
Goodbye 2010
This is a layout I designed that is dedicated to the heartache I went through last year. There are no pictures, because the words I wrote are enough. There isn't a picture that would express how I felt and I needed to put my thoughts into words, and then my words on paper. It's may way of saying goodbye to 2010 and good reddens. I wasn't exactly proud of myself or the way I handled what was was thrown at me, my kids and my girlfriend helped me so much, and if it wasn't for them, I don't know what I would have done. I am just really glad it's over, that we have all moved on and I think have become a stronger family for it.
I used the Immortal Stack by DCWV for the two background pieces. I used the Martha Stewart Garden Trellis punch for the sides of the checkered piece of paper. Then I distressed it a little. The heart was hand drawn onto red cardstock, cut out and distressed, then inked with ColorBox black ink. I stamped a little around the heart, used a large "L" to start of the journaling, and stamped butterflies, cut them out and added stickles to make them stand out. The flowers are Prima, and the brads are by Making Memories. The tears falling from the heart are also hand drawn, then I added stickles to them, and cut them out.
I hope you like the layout, it's very personal to me, I didn't really go by what looked good, just what felt right.
Saturday, March 12, 2011
Doggy Page
Doggy -
This page is for my awesome, lovable dog Piper. She is a 12 year old Lhasa Poo. And she has to be the best dog I have ever owned. She is so sweet and loving. She is still extremely playful at 12 years old. This page uses the exact layout that I used on the other page I posted last week, so if you want to make this page, just follow those instructions. The page looks different when using different papers. That is what is so cool about layouts! You can just change up the paper and you get a totally different page.
Also I turned the mat so it will hold a horizontal picture instead.
And I added some chipboard embellishments along with the flowers.
This page is copyrighted by Tina Smith.
Happiness Page
HappiNess -
I made this page for my daughter. Her name is Vanessa, or Ness for short and she is almost always happy. :) (I, even unlined her name with a decorative sticker.)
Again this page is very simple, but the page is really pretty.
I made the shaped background paper. I took a regular 12 x 12 piece and cut it down to 10 x 10. Then I took a 1 1/2 inch circle punch and punched a semi circle into each corner. The striped paper is 2 x 10.5. The dark brown paper is 6 x 9. The white mat behind the tan page is 4.5 x 6.5, the tan paper is 4.25 x 6.25. The tan patterned paper, and the tan mat are inked with the dark brown cat's eye queue ink bu Colorbox. The striped paper is inked with burgundy ink, from cat's eye queue ink by Colorbox.
The "happiness" title is from the one dollar bin at Michael's. I kept it in plain chipboard, I thought about adding color to it, but it looked good as is, and one u color it, you can't really go back.
I made this page for my daughter. Her name is Vanessa, or Ness for short and she is almost always happy. :) (I, even unlined her name with a decorative sticker.)
Again this page is very simple, but the page is really pretty.
I made the shaped background paper. I took a regular 12 x 12 piece and cut it down to 10 x 10. Then I took a 1 1/2 inch circle punch and punched a semi circle into each corner. The striped paper is 2 x 10.5. The dark brown paper is 6 x 9. The white mat behind the tan page is 4.5 x 6.5, the tan paper is 4.25 x 6.25. The tan patterned paper, and the tan mat are inked with the dark brown cat's eye queue ink bu Colorbox. The striped paper is inked with burgundy ink, from cat's eye queue ink by Colorbox.
The flowers are prima flowers with antique metal flower over the top, with pearl centers.
The three butterflies are a stamped image, cut out and I added Stickles by Ranger Ink on each of them.
This page is copyrighted by Tina Smith.
Beauty Page
Beauty -
This page was not very hard to make. It's very simplistic, but I think the page came out well. I made the postage stamp paper myself with a circle punch. The teal swirls came from my BFF, she just happened to have a felt border that matched the color scheme perfectly. The "beauty" word was in the one dollar bin at Michael's. And because I am super thrifty, the square of green for the picture mat is used from the background paper.
I cut the gray paper to 11 x 11, then evenly spaced 11 half circles on each of the four sides to create the postage stamp look. The white patterned paper is 3 x 9. The green mat is 4 x 4. I inked both the white patterned and the gray patterned with charcoal cat's queue ink by Colorbox. There is a strip of the gray paper, 1/2 x 10, behind the teal felt swirl.
I adorned the butterfly and made the butterfly's trail with stickles by Ranger Ink.
This page is copyrighted by Tina Smith.
Thursday, March 10, 2011
To make the flowers on the Always and Forever Page
To make the flowers on the Always and Forever Page. (This is adapted from the blog Such a Pretty Mess by Gabrielle Pollacco)
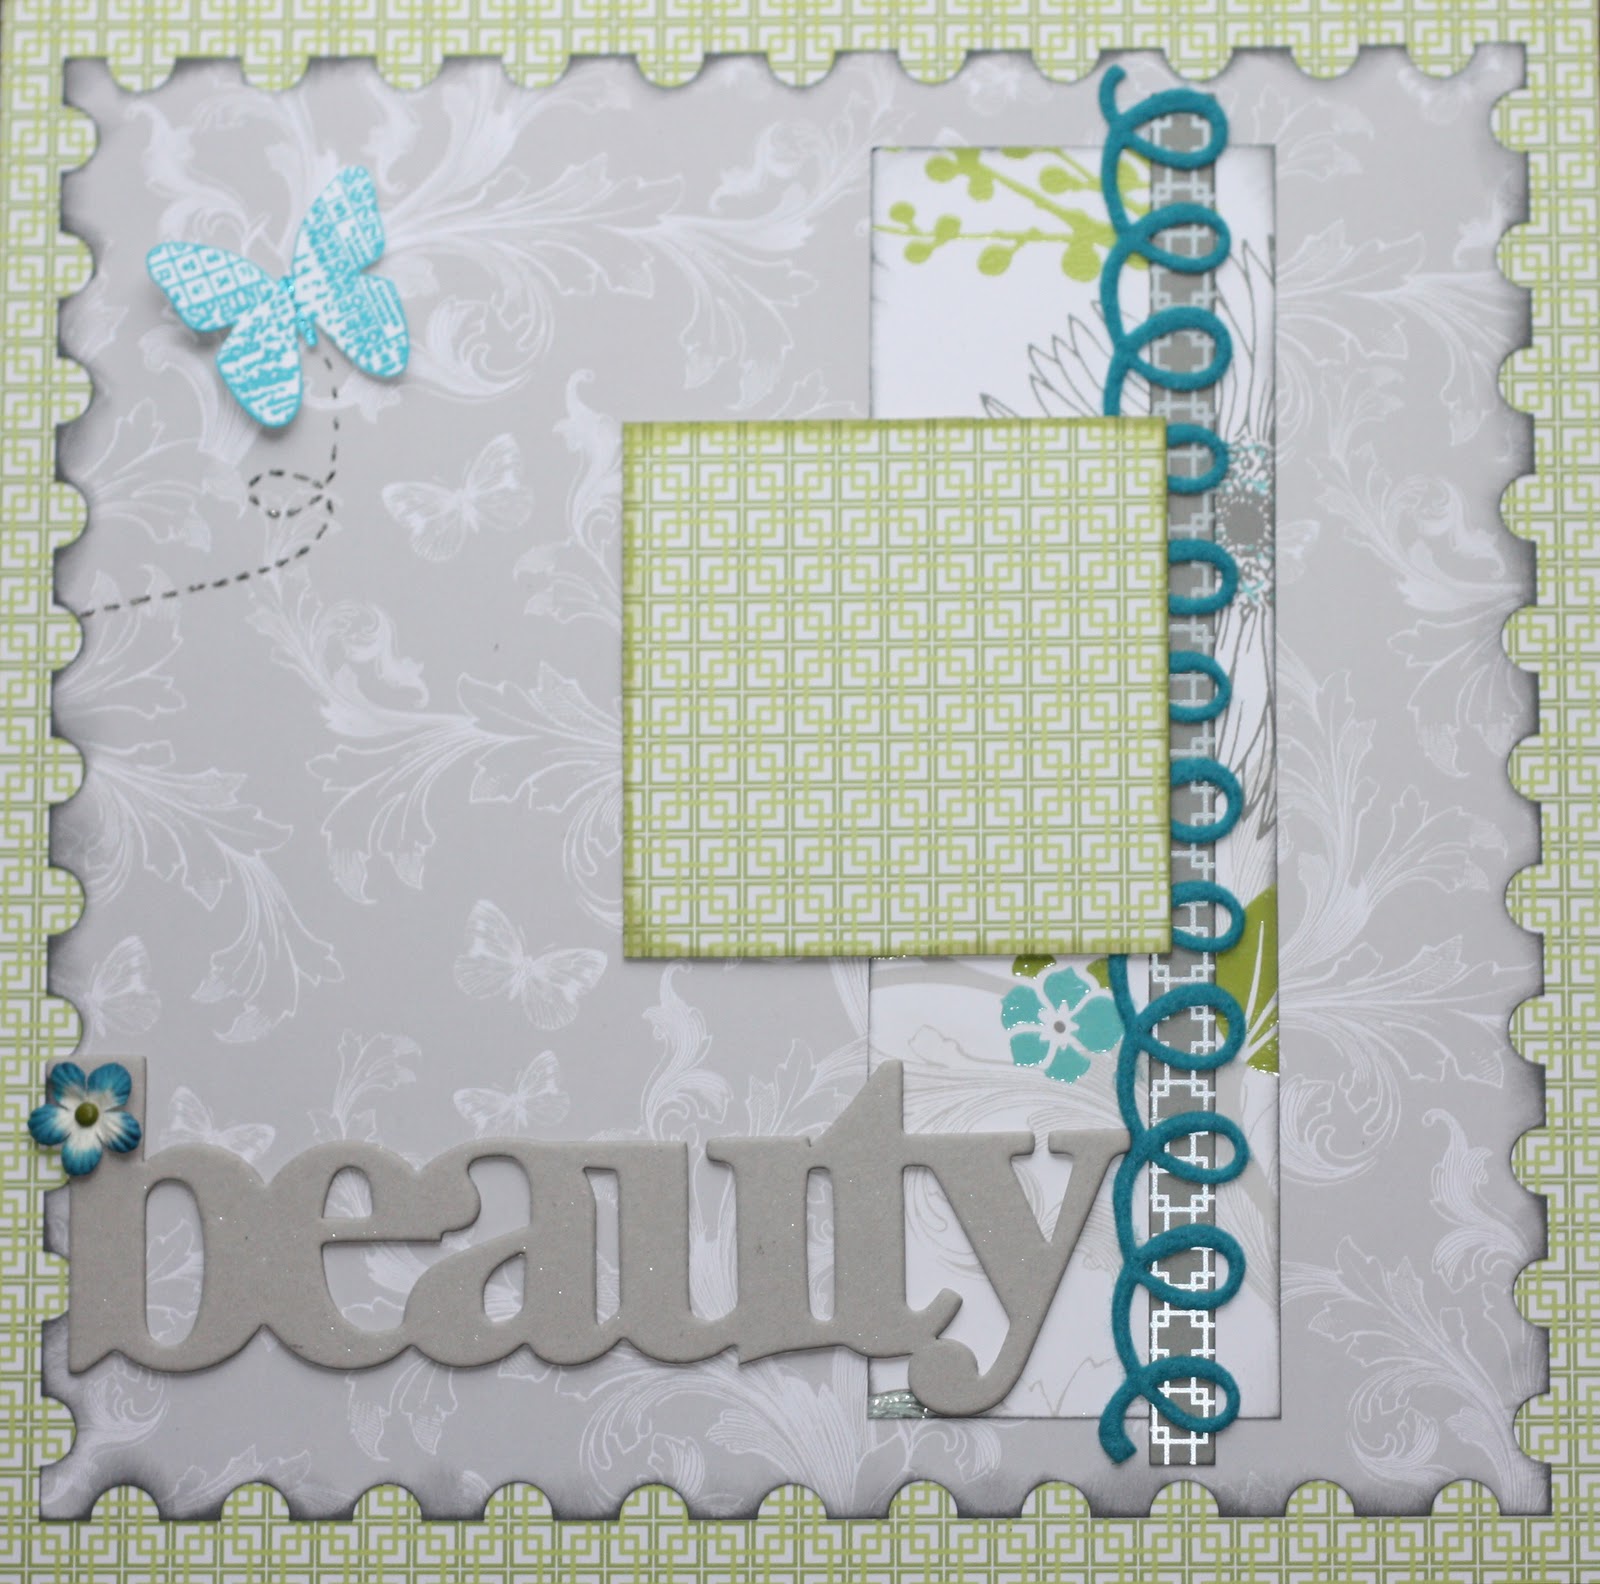
1. The first thing you need to do, is design your page or at least pick out the papers/color scheme for the page you are making. This will help, let me explain. Unless you want to make these flowers just for fun, which I have done, because they are just simply fun to make, then you aren't gonna wanna spend time making flowers that aren't going to match your page in the end. It's alot of work to make a ton of flowers, then find out they don't match anything. My advice is to practice making these with white paper, that way you can use them on anything. You can add ink, chalk or paint to change them. White flowers are very easy to adapt to anything. And these flowers are so easy, you won't really need to make more then one as a practice flower.
2. You are either gonna need a die cutting machine, three flower punches (one - 2 inch, one 1 1/2 inch and 1 one inch) or you can simply tear the paper into circles. You will also need glue dots or a fast drying, super sticky glue and a small sprayer with water or a sprayer of glitter mist. (My advice on this is to buy something that is very light, so that it doesn't overpower the color of the flower.)
3. Cut 3 two inch flowers, 3 one and a half inch flowers and 1 one inch flower.4. Spray each piece, front and back with either the water or glitter mist. Do not drench the pieces, just lightly spray them.
5. Ball them all up into crumpled pieces of paper and very gently open them up to dry.Now here is where the character is built, for each flower. the less you smooth out the pieces, the better they look,but be aware that you don't want each piece to still be too crumpled. (Leave the one inch flower balled up.)
6. Let them all dry. Sometimes I do these after I picked my papers, before I built the layout and I let them dry while my page comes together.
7. Once they are dry, starting on the bottom, take the 3 two inch flowers and layer them, gluing them in between each layer. I turn the flowers just a little each time a glue one down to give it a more full look.
8. Do the same for the 3 one and a half inch flowers, gluing them to the layered two inch flowers.
9. Take that last flower, the one inch, and add glue to it, stick it in the middle, now let dry (unless of course you used glue dots.)
After all the steps above are done, you can add pretty centers.
Wednesday, March 9, 2011
Become a follower....
Hi all,
I have a great new page in the making... I can't wait to show you. I will try to have some more detailed photos so you can see the details up close and dimensional.
But what I would like to see for you is, some followers... No pressure, but if you like my blog and my pages, please become a follower.
Post comments, ask questions (and I will answer them) and share thoughts. I can't wait to hear from everyone. I am very excited about it. So! Come on already... <3
Subscribe to:
Posts (Atom)